How to customise your Mac
Apple has a reputation for knowing what is best for their customers, and making certain choices for you. However, the truth of it is, they try and keep you from breaking things accidentally by hiding certain settings, but there is still a lot that you can customise to your own style.
Sam, one of our business sales team, explains how he has setup his Mac. He also offers some advice and some of the more in depth options.
My setup consists of:
- MacBook Pro (Retina, 13-inch, Late 2012)
- 2.5GHz Intel Core i5
- 8GB 1600MHz DDR3 Memory
- Intel HD Graphics 4000 1536MB
- Apple Cinema HD Display - 23-inch
- Dell E196FP Display - 17.1-inch
- Apple Wired Keyboard with Numberpad
- Apple Wired Mouse
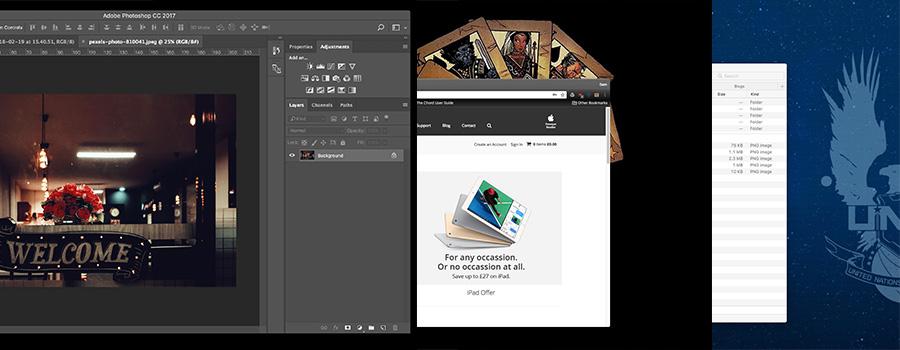
Below are screenshots of my displays as they are arranged on my desk. (In order: MacBook Pro, Cinema Display, Dell Display)
 |  | 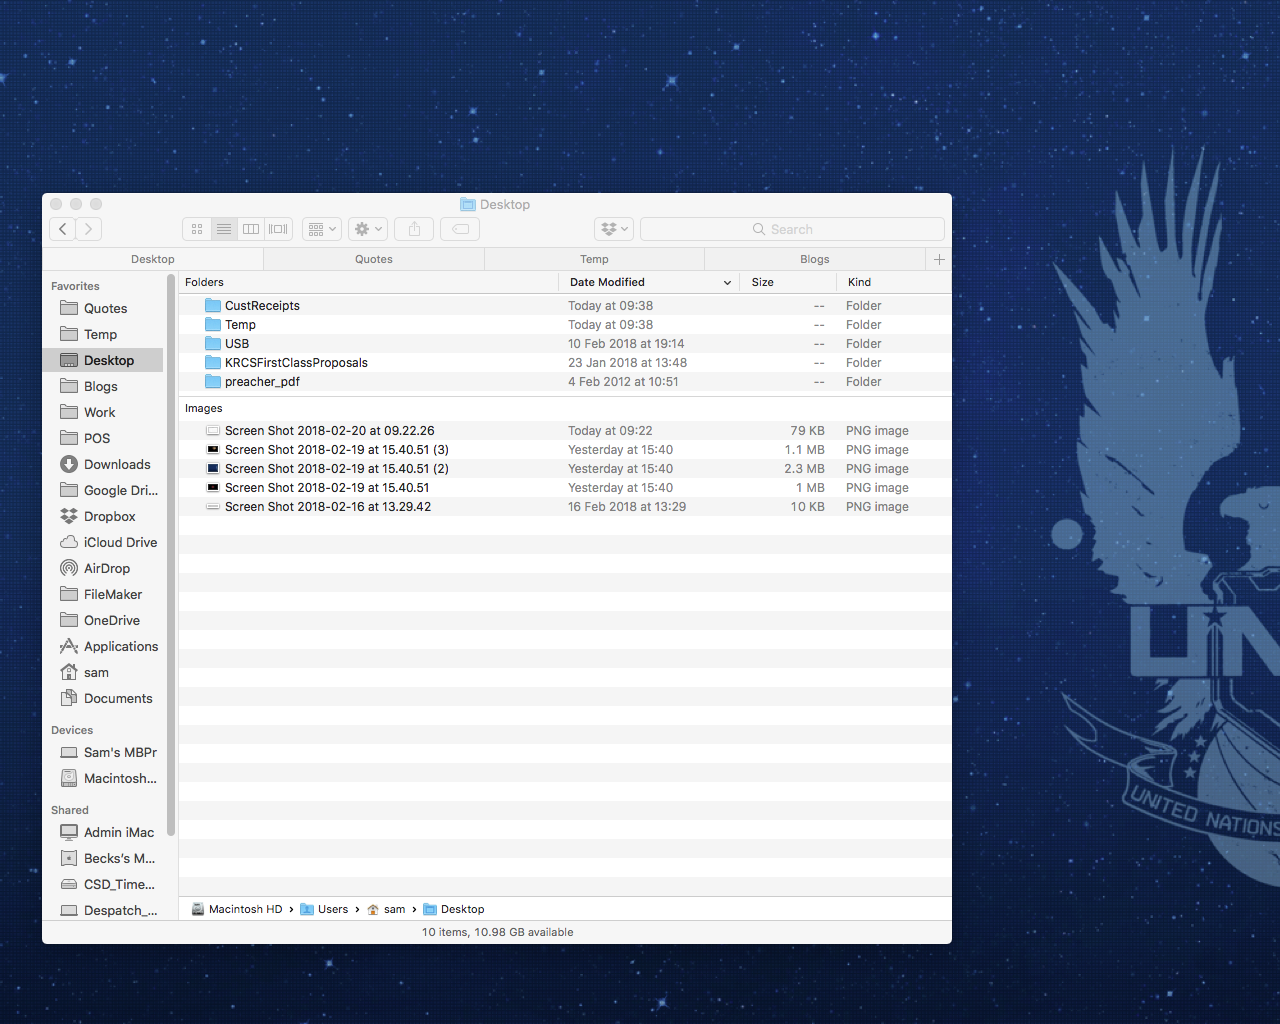 |
Basics
Get to know the System Preferences. This is where you can find the options that Apple give you. We will go through a few of them here:
Mouse Setup
The first thing I do when working on a new Mac, is to set up the mouse how I want it.
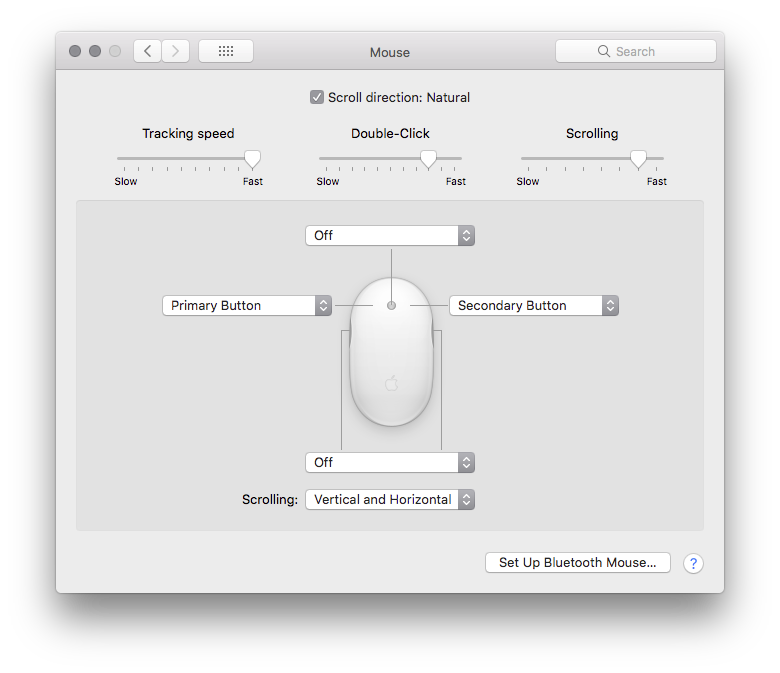
I used an Apple wired mouse with my right hand and I have set the secondary click on the right side of the mouse, like a traditional ‘right-click’. If you are left handed, you can set it to the left side of the mouse. As I have three screens, I have set the speed of the mouse (tracking speed) to it’s fastest. The scroll ball can be set to scroll vertically, horizontally, both, or 360º. I find 360º just a little disconcerting when scrolling down long pages, so I have set it to vertical and horizontal.
Desktop Background & Screen Saver
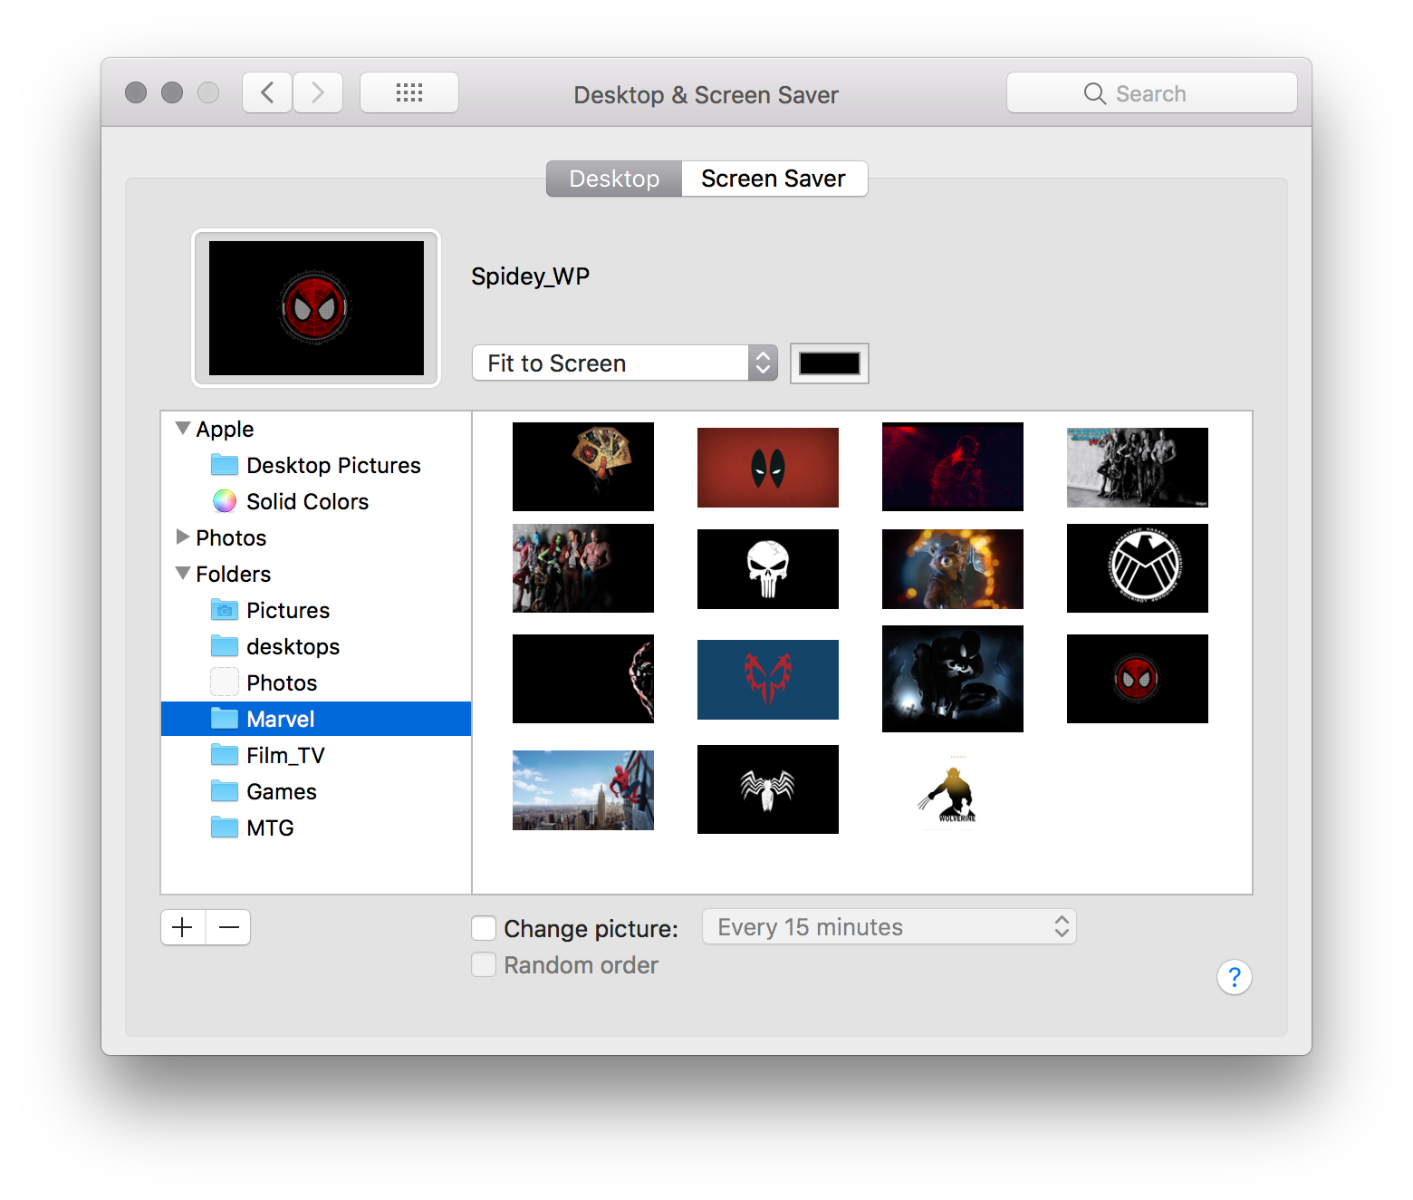 |  |
The desktop background can be changed by right-clicking any image on your Mac and selecting ‘Set Desktop Picture’. This works well if you have one display, and want one image. In the Desktop preferences you can add a folder of images (by clicking the + in the bottom left) and have a series of images change over time. If you have multiple displays, you can set different images for each display.
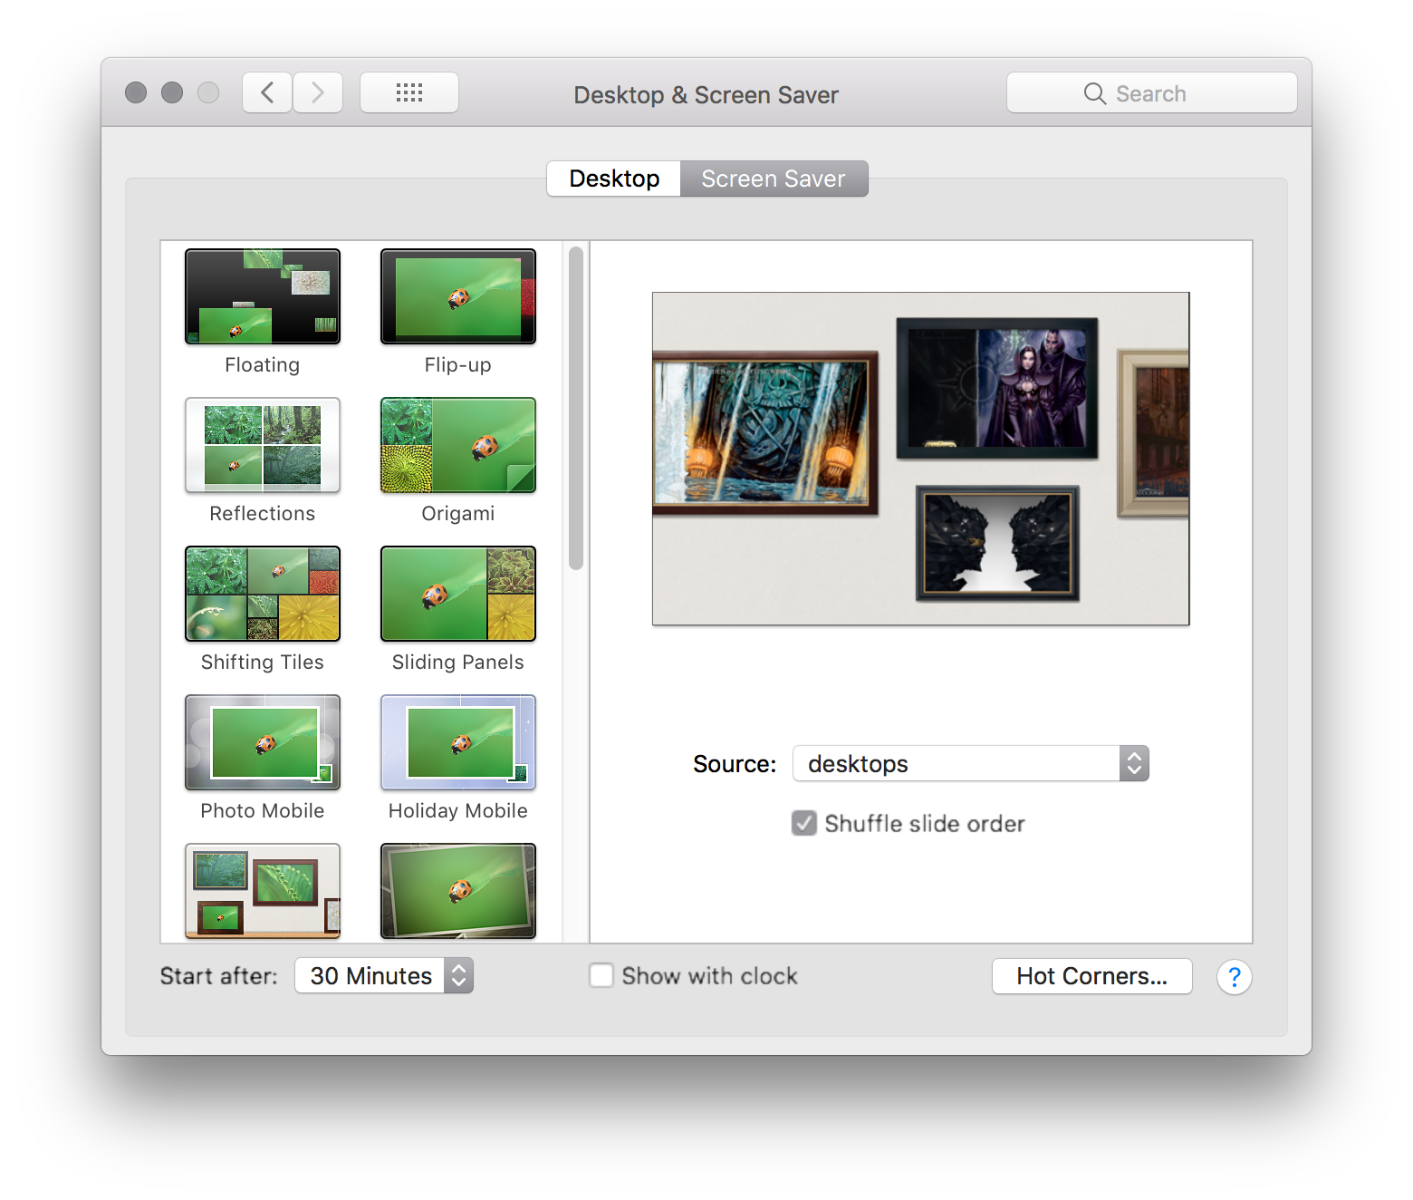
The Screen Saver also has several options, personally I like the photo wall, and have a folder with all the images I want displayed on it. If you have a lot of music you can display your iTunes Artwork, or you can have Apple’s word of the day, to expand your vocabulary.
Appearance Settings
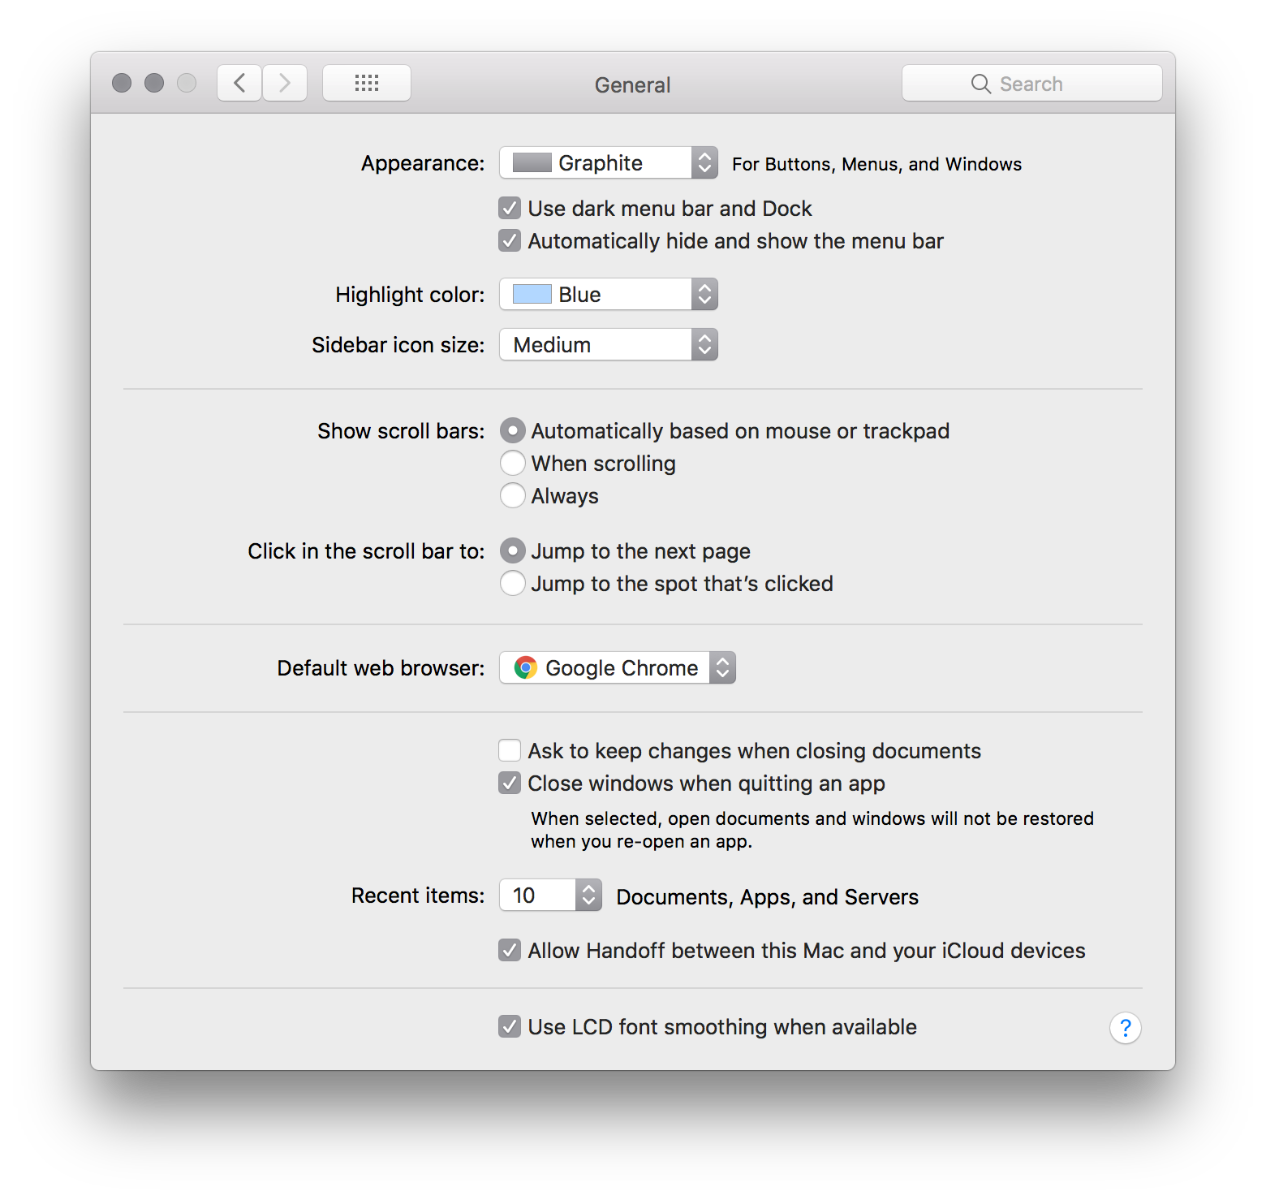
I like a simple look, using any ‘dark mode’, or equivalent, wherever on is available, so I can use these settings to make the general look of windows and menus as simple as possible. Setting the ‘Appearance’ option to ‘Graphite’ means that buttons and menus appear grey, including the 3 buttons at the top left of any window (for closing, minimising, and maximising windows) which would otherwise be red, yellow, and green.
Also, as I like to have as little as possible on my desktop, I have selected 'Automatically hide and show the menu bar'. This hides the menu bar, at the top of the screen, which pops down when I move the mouse up to the very top.
Dock Settings
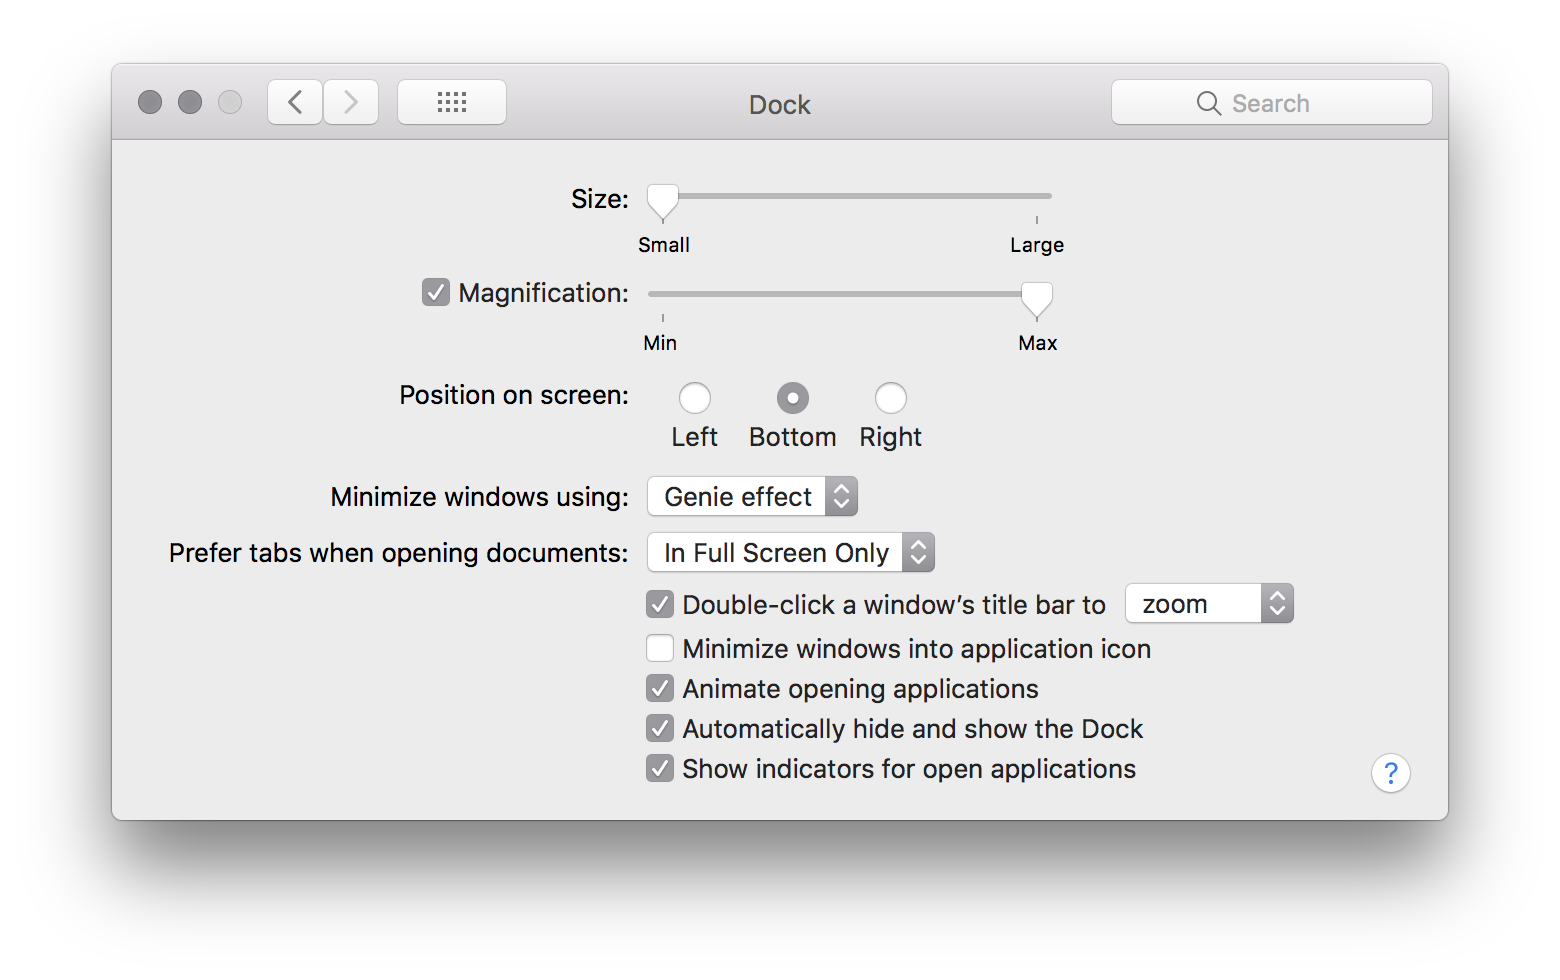
I like a clean look to my desktop, I don’t like seeing unnecessary items in my periphery while I’m working. So I have hidden my dock. This means it is not visible on my screen until I move the mouse to the bottom of the screen, and it pops up. I have also found that setting the dock size to small, and magnification to max allows the least amount of movement from one end of the dock to the other, whilst allowing me to see the icons at a decent size.
Advanced
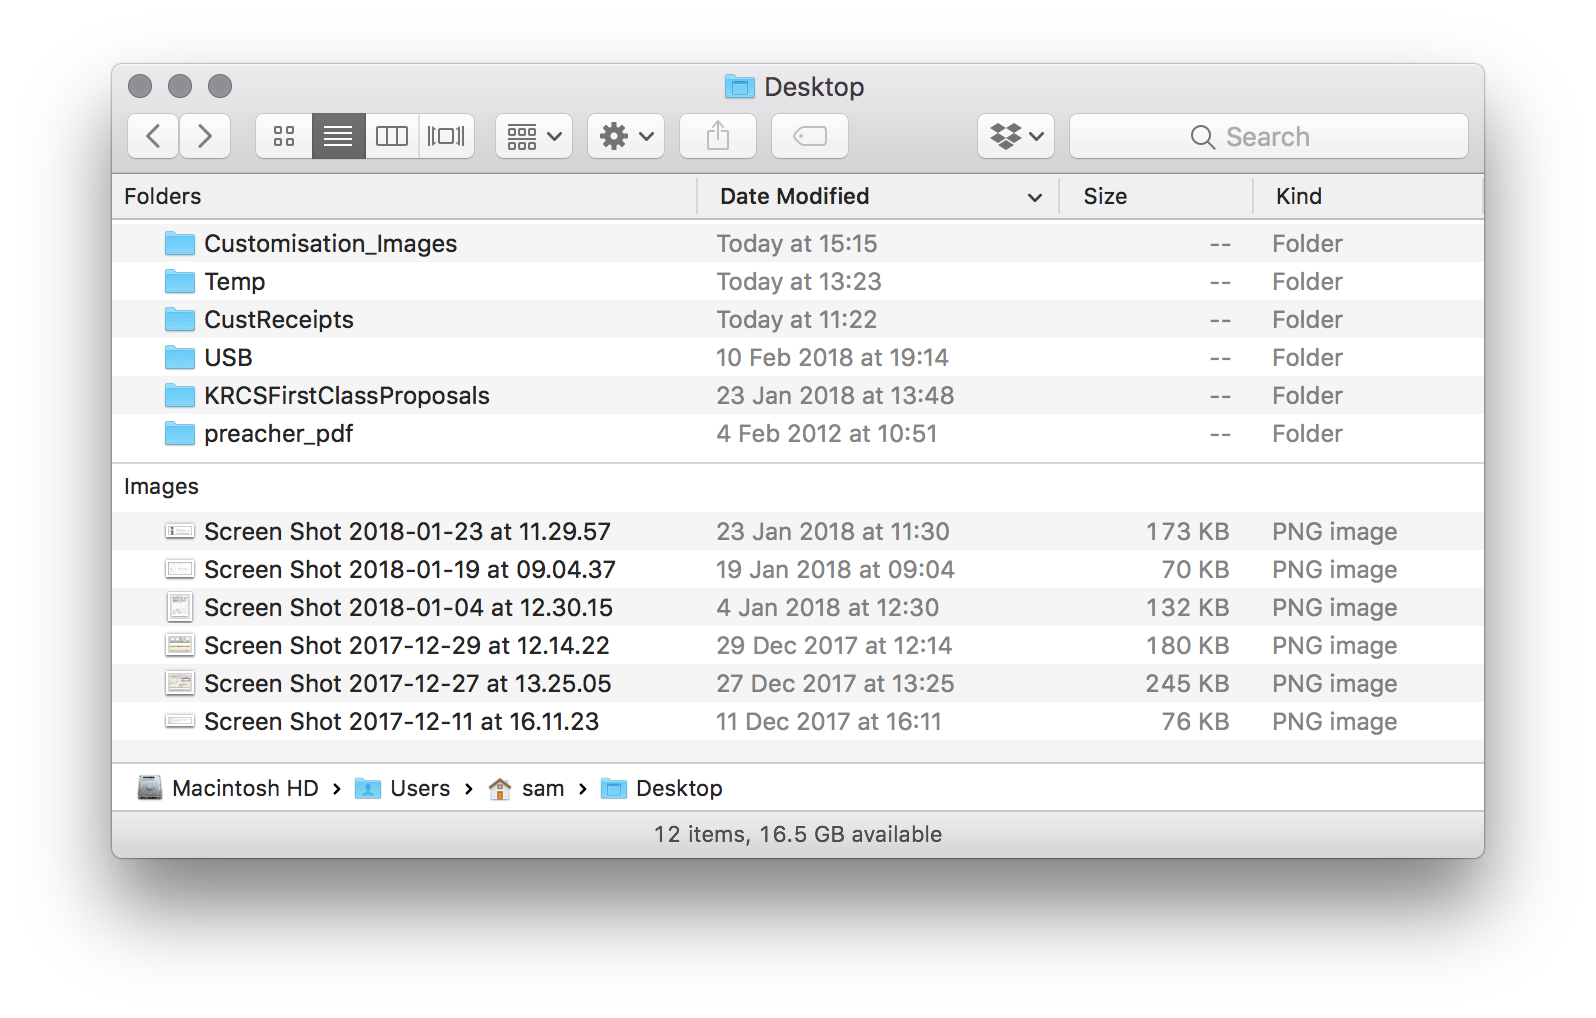
Desktop Icons
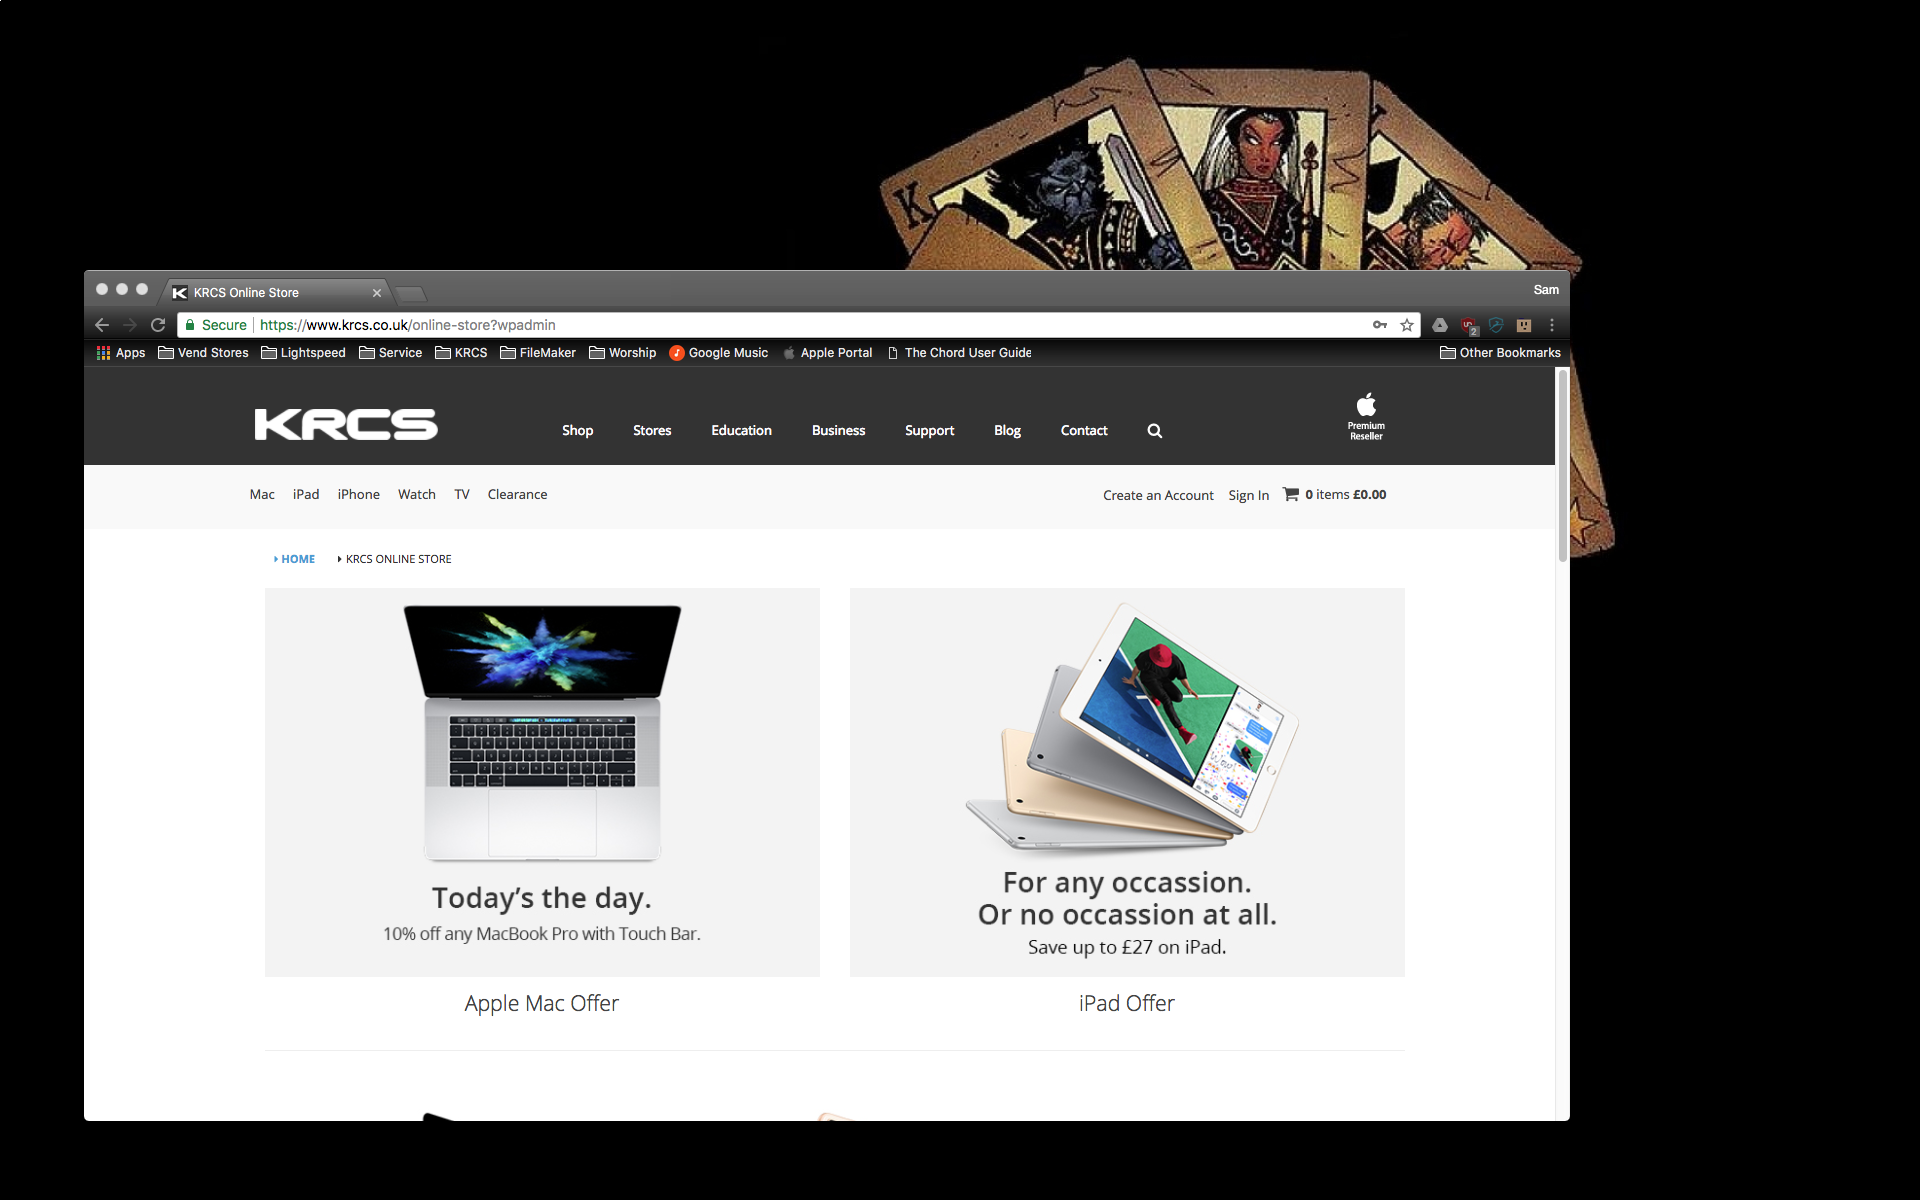
You may have noticed that I do not have any icons on my desktop. This is not because I am super organised and delete/move any files put there, as you can see from me desktop folder:
There are apps available that will hide desktop icons for you. The simplest is HiddenMe, which simply overlays your primary desktop with a copy of your background image.
If you have the knowhow, then there are two lines of code you can type into ‘Terminal’ to hide the icons:
defaults write com.apple.finder CreateDesktop false
then
killall Finder
The first line stops macOS creating desktop icons; the second line force quits Finder. Finder will restart automatically, and the desktop icons are not created. All the files are still accessible by going to your desktop folder in Finder.
If you want the icons to come back then use the following code, again in Terminal:
defaults write com.apple.finder CreateDesktop true
then
killall Finder
As with all Terminal commands, if you are not comfortable using this sort of code, then leave it alone. Don't type anything into Terminal you do not understand.
App Customisation
Some apps for Mac have some customisation and so, wherever possible, I use ‘dark mode’, or simple plain themes. The only exception to this is Office 365, which as two themes; Colourful, and Classic. I find the Classic theme just a bit too dull, and when I am looking across my displays for a window of OneNote, for example, I know I am looking for a splash of purple.
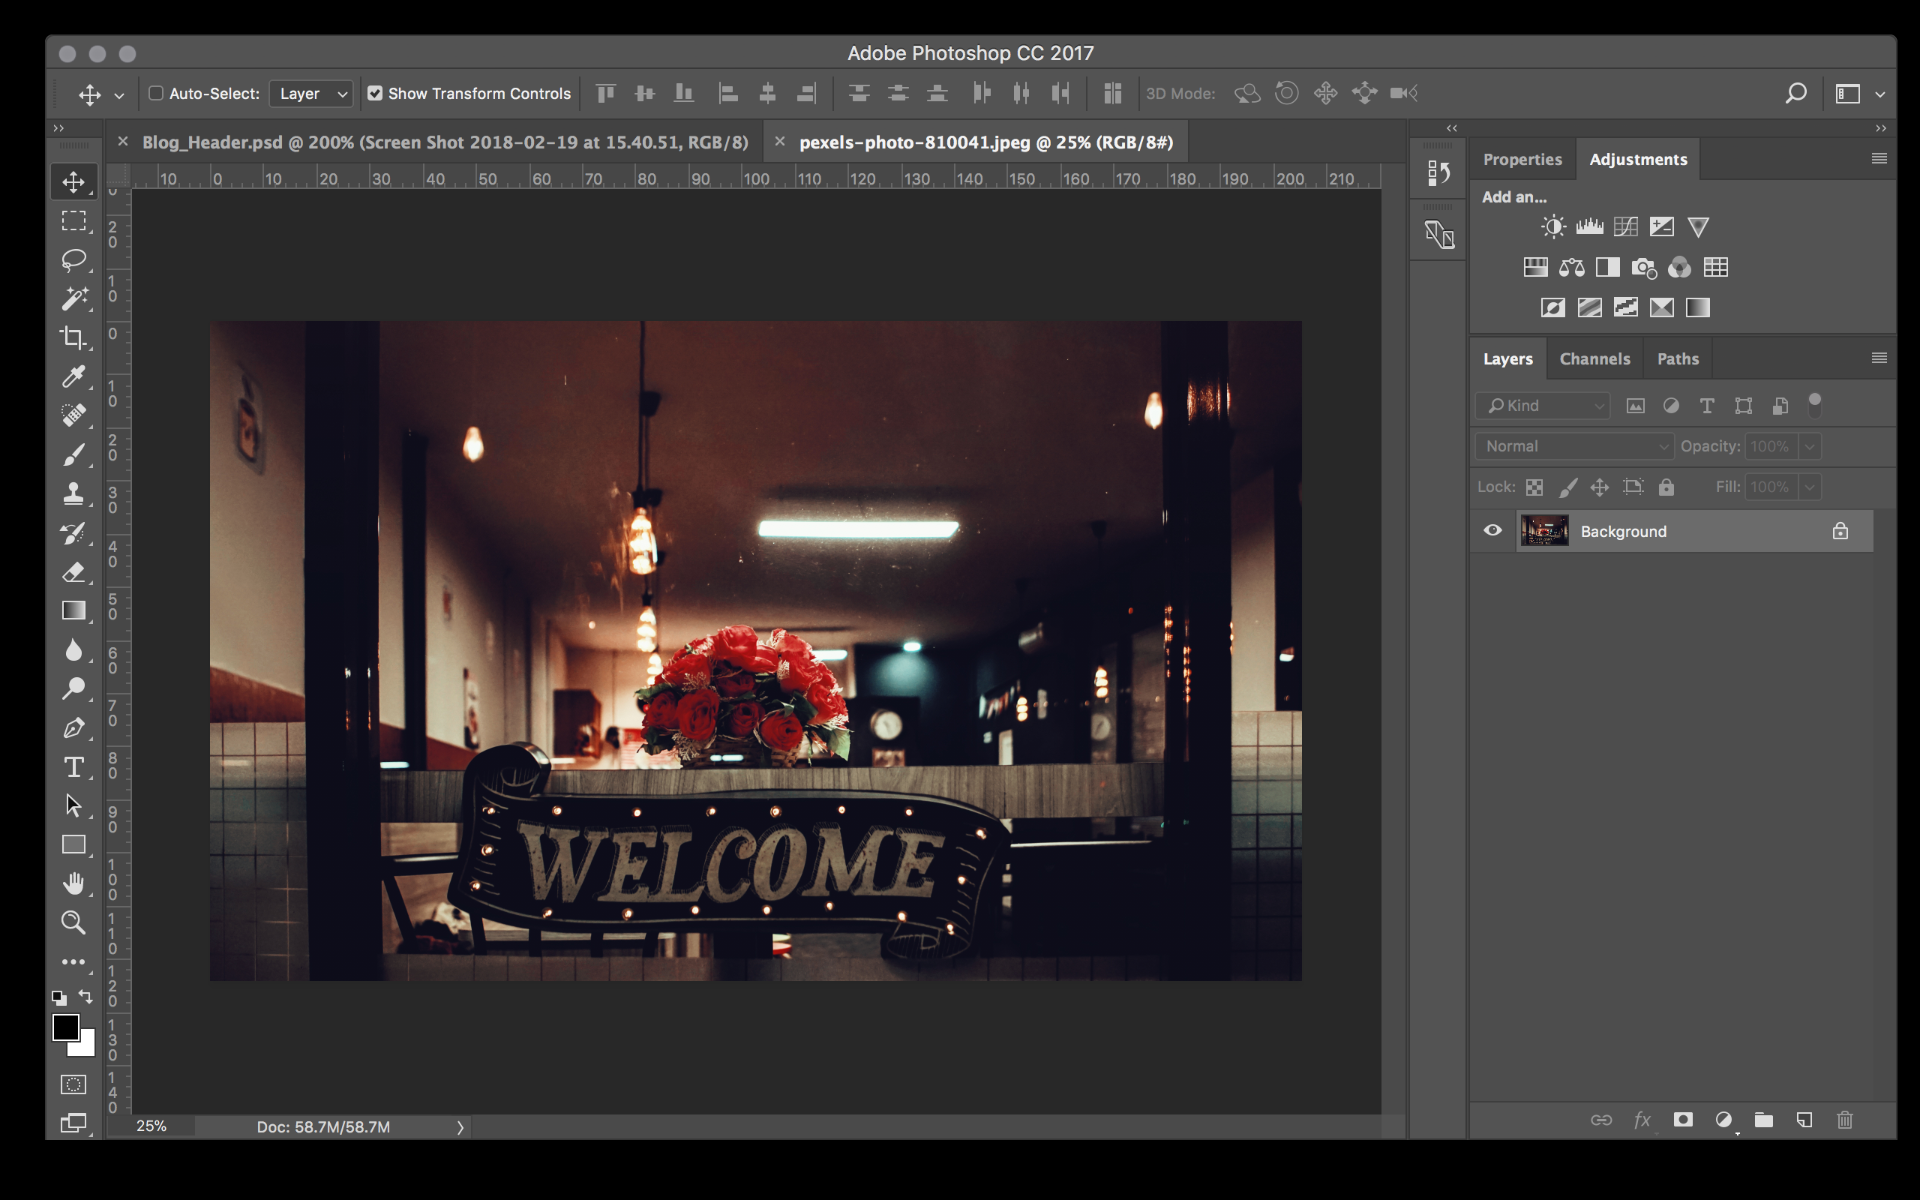
I also use Google Chrome as my browser, as this syncs well across my devices, and it looks amazing in black:
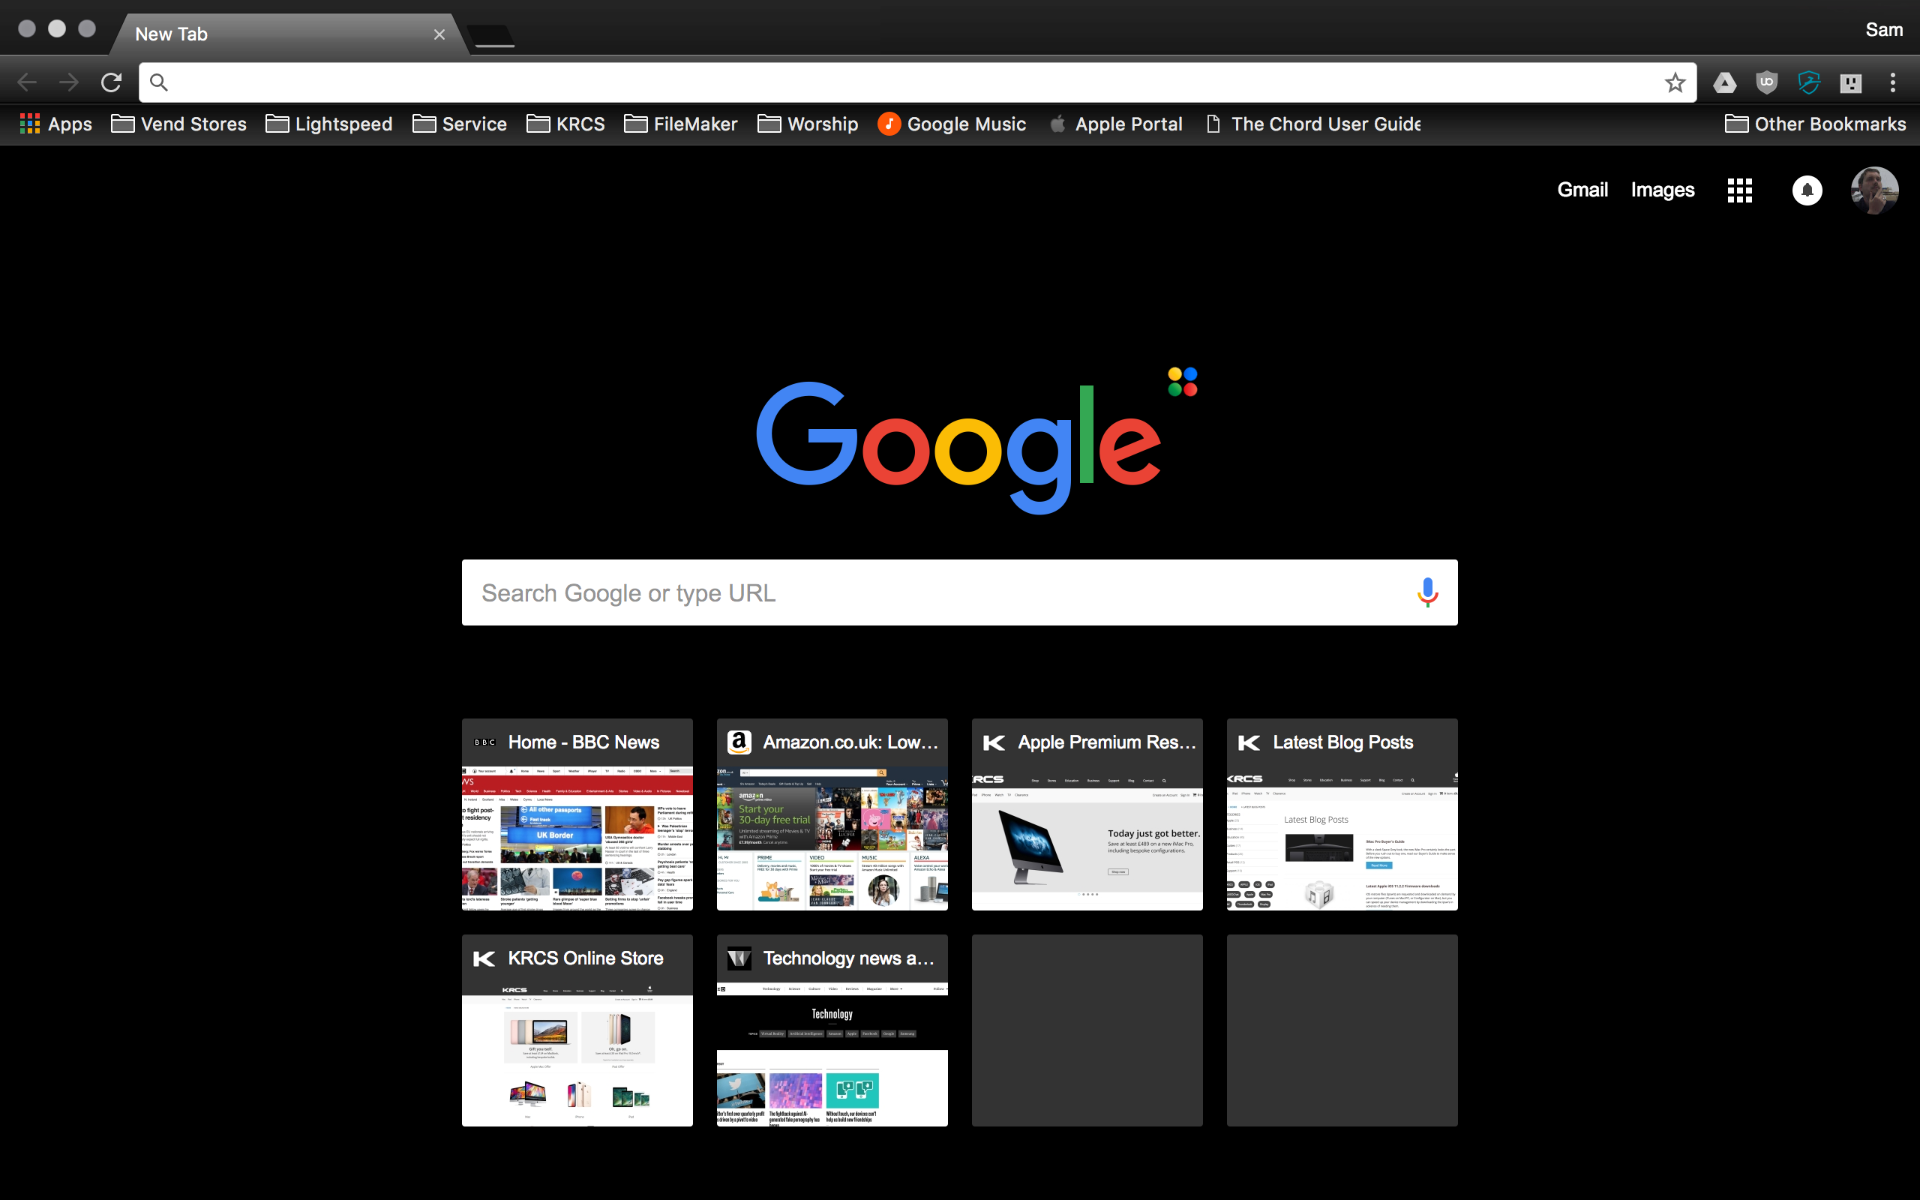
Chrome is a great browser if you want to customise how it looks, as there are hundreds of themes, created by other users and professional theme makers, which can be found in the Chrome Web Store. The theme I use is 'Morpheon Dark' as it is a simple dark theme, but all the buttons are still clear, and it is clear to see which tab you're in. If Chrome is not your browser of choice, you can also theme Firefox in a similar way. Safari, on the other hand, doesn't allow for browser themes.
Third Party Options
That covers the look of my Mac setup, however there are more options that you can do. For example, you can change file & folder icons (Apple have a support article explaining this here).
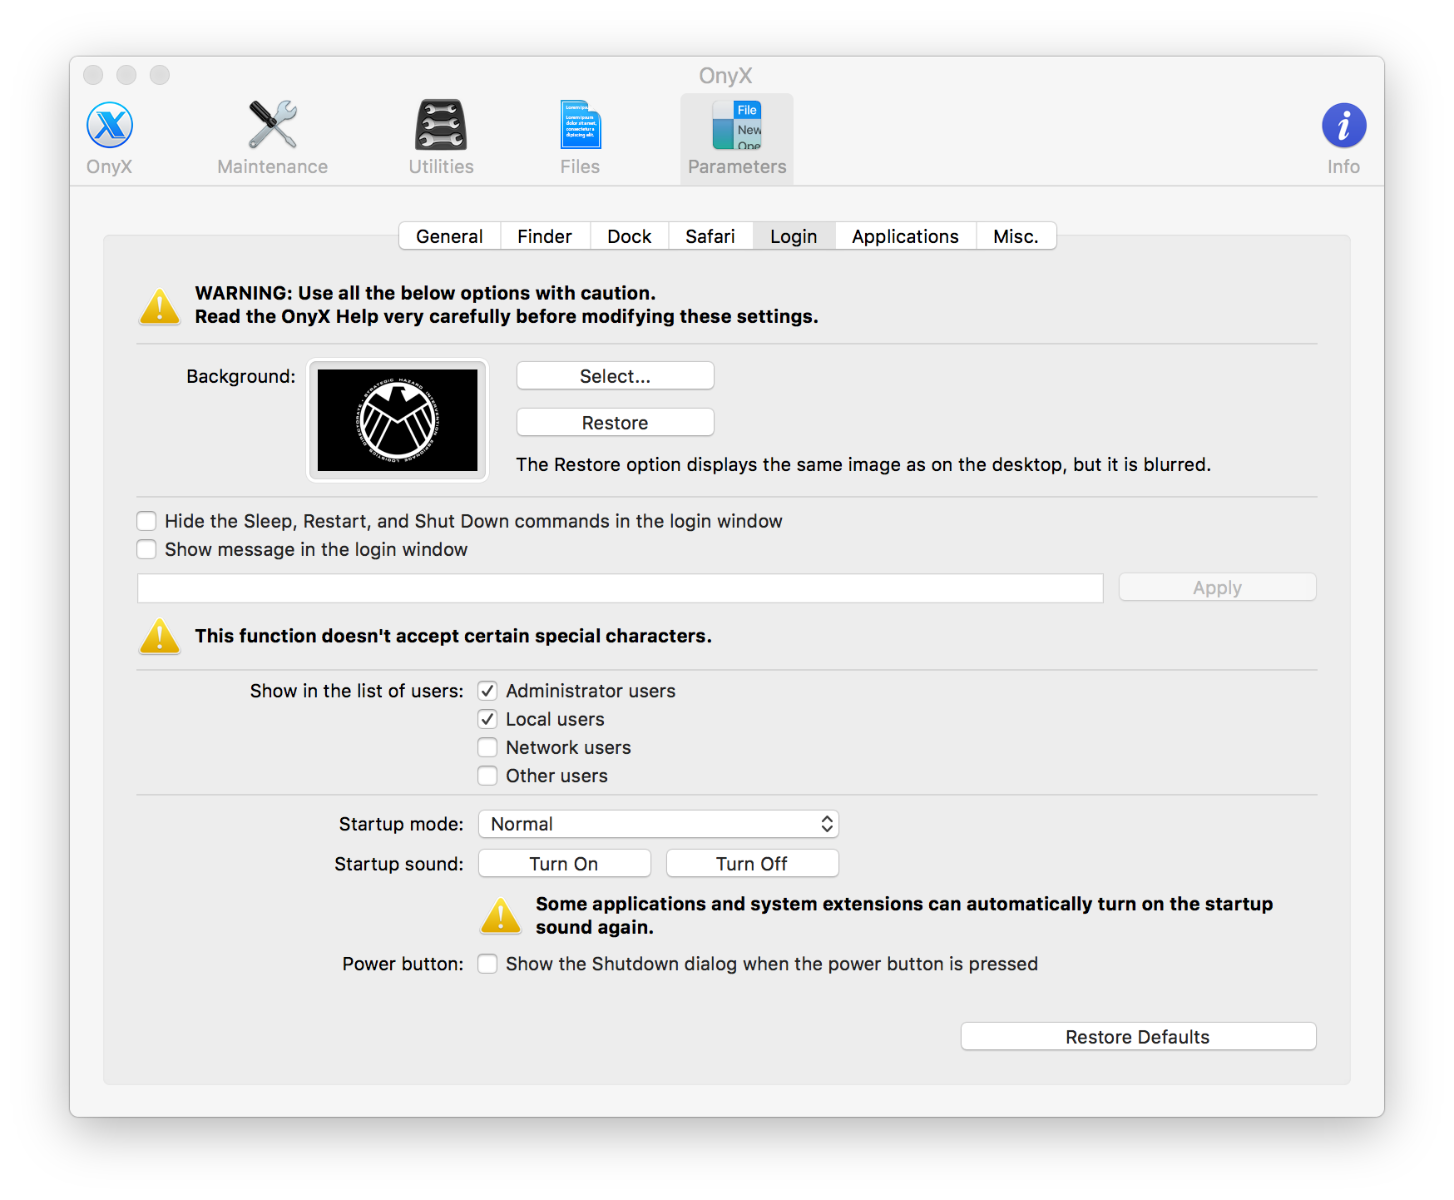
There are also 3rd party apps available that can change some options that are hidden, or require playing around with files you shouldn’t. One particular app, called OnyX allows access to a host of options, including changing the login image, which would involve going into Mac caches and editing a particular image there, or including a message on the login screen.
Other OnyX options include:
- Show graphic effects when opening a window: toggle the visual effects seen when opening and closing windows.
- Show the rubber-band scrolling: toggle iOS-style “bounce” behaviour that occurs when you try to scroll past the end of a window.
- Show the location path of the current desktop picture on the desktop: Show the file path of the desktop image in the middle of the desktop.
- Turn on the accent menu from the keyboard: toggle the ability to access the accent menu from the system’s keyboard.
Workflow Apps
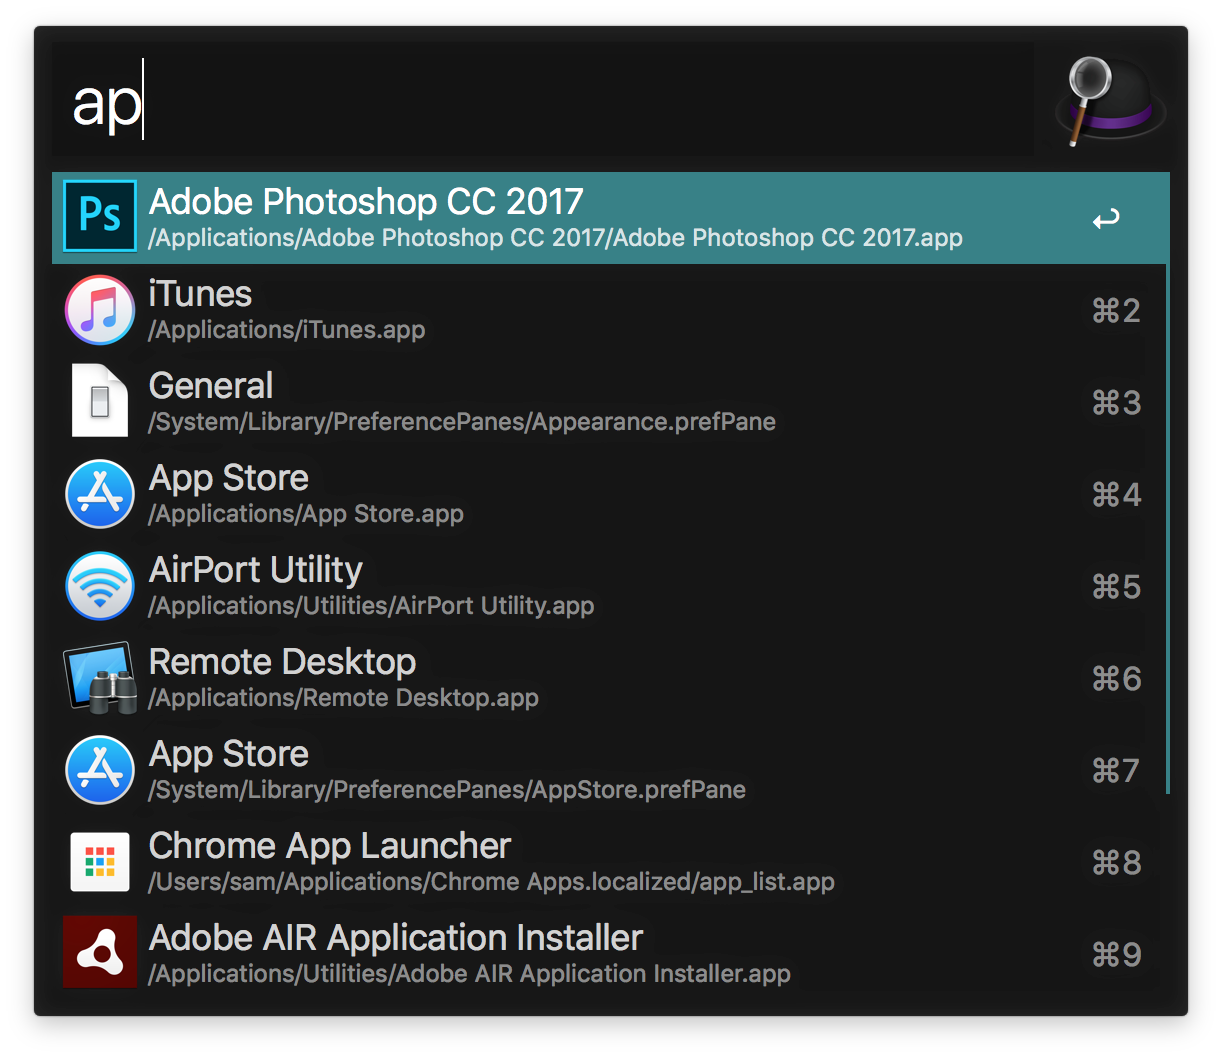
I use one particular 3rd party app to help with my workflow, Alfred. In it’s simplest form, Alfred is an alternative for Spotlight. It is most useful to me, as I can bring it up with a hotkey shortcut (I use alt+space), and can search for apps, or documents. Documents are easy to search for, as I just type ‘ and a word that is in the name of the document. Alfred also remembers your previous searches and puts results you have chosen before, nearer the top of the list. This is really useful to me, as I use a few documents often, and I have to type less and less in each time to get to the same files. It also means, that to some extent, I don’t have to worry about how my folders are organised.
Alfred also launches apps, and offers suggestions based on the initials of the app; for example I can type “ap” and Alfred will suggest Adobe Photoshop as the first option, as I use this quite a bit.
When I step away from my desk, I bring up Alfred and type “lock”. This locks my MacBook and requires a password to get back in.
By purchasing Alfred’s Powerpack you get access to a whole host of other options, including customised filtering and search options, controlling iTunes natively, or using the ‘workflows’ to integrate other music players.
So that is how I have customised my MacBook to suit my style, and how I want to work. This style may not work for you, but hopefully this has sparked your interest and imagination when thinking about how you would like your Mac to behave.
Follow us on Twitter.
Email us at info@krcs.co.uk
Call us on 0115 9851797
No Comments yet. be the first to comment.