How to set up your Personal Cloud
If you’re using an iPad in your personal or business life, the chances are that you are using some form of cloud storage for your documents. Typically iCloud Drive, Google Drive, Microsoft One Drive or DropBox amongst many others.
These services are great, and often free, but they are limited in capacity unless you pay for them and only accessible at internet speeds from wherever you are because they are hosted in various countries around the world.
There is an alternative to internet hosted cloud storage like these providers offer. Set up a cloud right in your own home or office! With the speed of fibre internet connections many people in the UK now have 20meg + outbound data connection making accessing data when out and about almost as fast as you are likely to achieve using hosted services from Google etc. And the best bit, if you locate your storage in the place you need it the most (your home or office) you will have lightning quick access to data over the local WiFi network when in that location.
Which storage product should I choose?
The type of drive that you will need is call ‘Network Attached Storage’, often referred to as NAS. These drives don’t connect to the USB port of your computer, instead they connect to an ethernet network port of your internet router. These are also fantastic ways to add storage when your are struggling with limited filespace on an exisiting iOS device.
Basic setup for either of these products is very straight forward, and after just a few minutes you will have a personal cloud storage solution up and running.
How do I use it?
The simplest way of accessing your new cloud is via the iOS based app. WD and LaCie both publish a free app on the Apple app store which discovers your new NAS on the network and can then access it from anywhere without additional configuration. You then end up with a great little app able to access all of the files on your cloud storage from inside or outside your home, wherever you have an internet connection.
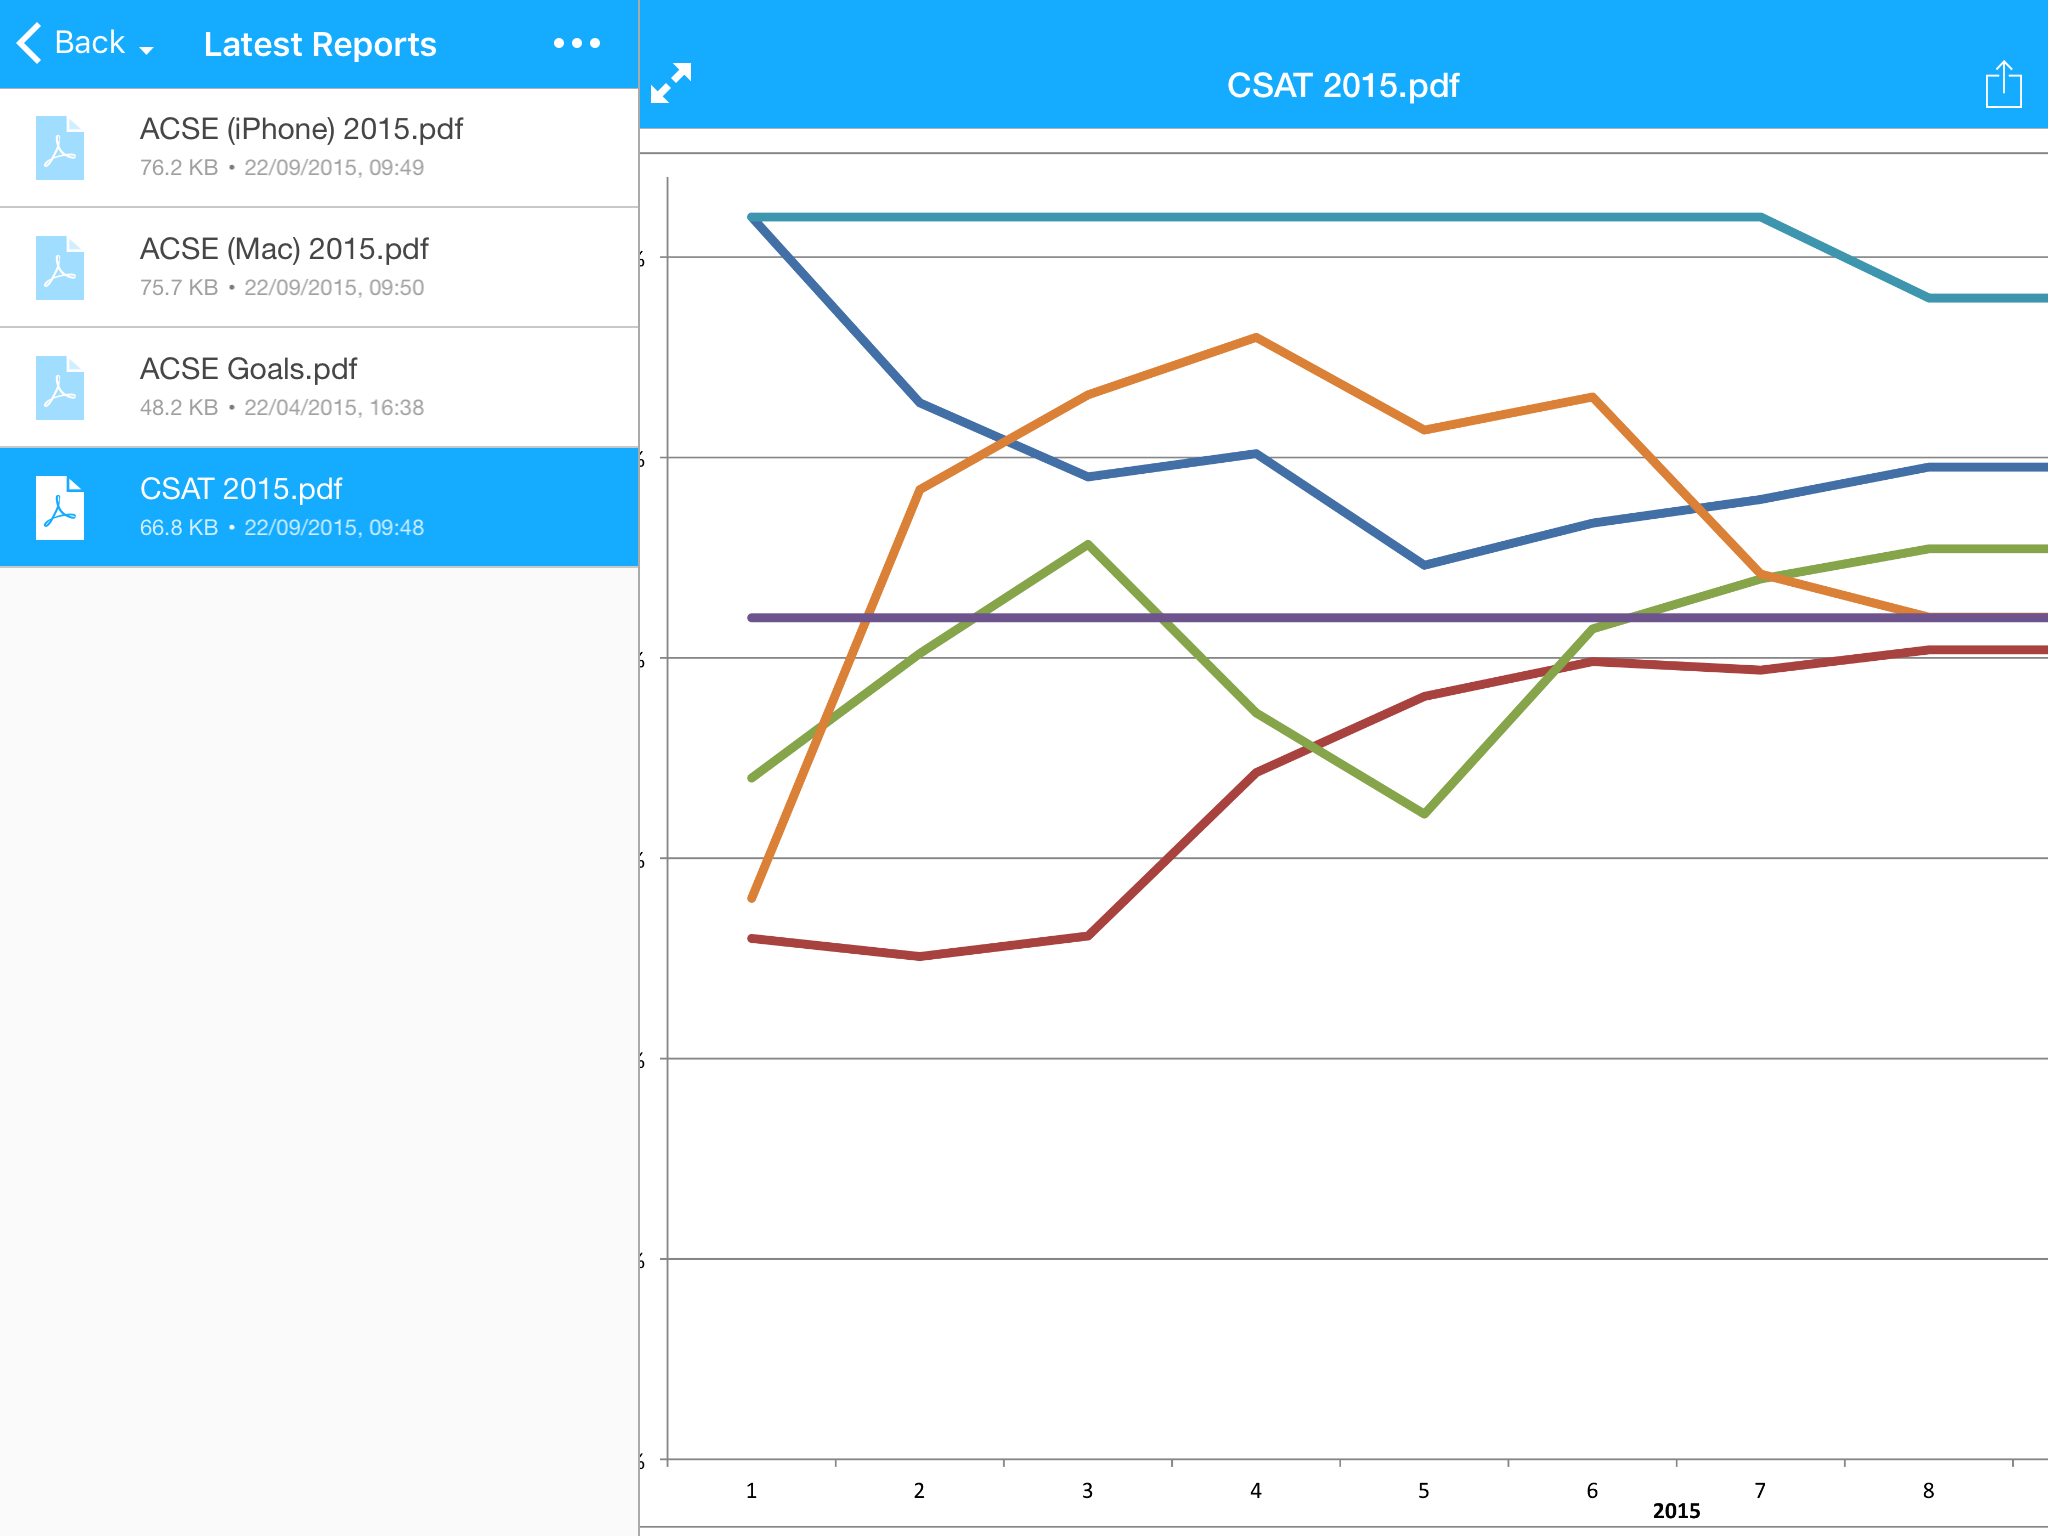
The image below shows the WD My Cloud iPad app accessing files on a NAS drive via a 3G data connection. The NAS drive is connected to a normal BT home hub.

You can also access or add files to your personal cloud storage from a Mac or PC when you are on the same network as the NAS drive (i.e at your home or office where the drive is located) because they also support common networking languages like SMB and AFP. So all of your files are now accessible by a computer on the same network as the NAS drive, and from your mobile devices from anywhere.
On a mac the NAS drive will be shown as an available ‘Shared’ device in any Finder window

Advanced setup
For the ultimate cloud experience the final setup stage for your new NAS drive is to make it accessible for Macs and PC’s from anywhere. This solution isn’t for everybody because you will be opening parts of your home or office network to the wider internet, and potentially making personal data accessible to the world. It’s really only for experienced users and those with a good understanding of networking.
The fundamentals for this setup are:
1.Ensure that your NAS drive has an assigned DHCP or static IP address, so it get the same IP address every time on your local network. You should be able to do this in the admin interface of your router (BT Home Hub etc)
2.Setup a DNS record on the internet which points back to your home or office internet connection. This is a relatively tricky bit. Most home internet connections have a variable internet address (you get one of a pool of thousands every time your router restarts) so for the rest of the internet to know where you are services like DynDNS are essential. Your home would then be accessible via myhouse.dyndns.com which always knows the current address of your internet connection. All you need is a compatible router which is normally supplied by your ISP as standard.
3.Enable the required port forwarding on your home or office router, forwarding inbound traffic to the assigned or static local IP address of your NAS drive. On most routers supplied to homes by an ISP this can be referred to as game port routing because some internet based games need to be able to get back in to your home network on specific port which are normally blocked for security reasons. The port to forward for most macs and PC’s to be able to access files is port 139 (SMB). A list of commonly used port numbers are available on Apple’s web site.
4.Be sure that you have setup the correct access privileges on your NAS drive. When you’ve opened your network to the internet it’s essential that your cloud share points are protected by a user name and password which is changed regularly.
Once this is all setup you can connect to smb://myhouse.dyndns.com/ from any mac or PC with an internet connection and access all of your personal cloud storage. This is a great solution for small to medium sized businesses because this cloud storage location suddenly becomes an offsite backup solution that key data can be backed up to securely and affordably with no subscription fees other than that of your home internet connection.
For further information on how personal cloud storage can work for you, please get in touch!
Follow us on Twitter.
Email us at info@krcs.co.uk
Call us on 01159851797
 12 months interest free on any Mac over £1,000.
No Comments yet. be the first to comment.